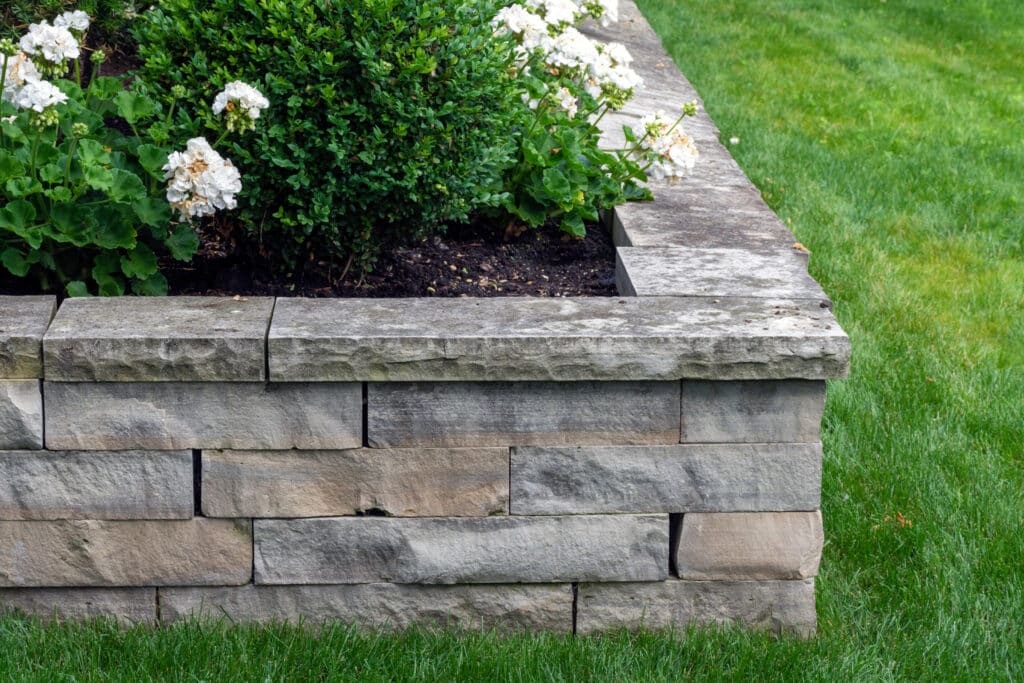
Prepare the area, use appropriate materials, and follow proper construction techniques to ensure stability.
Building a retaining wall is a construction project that requires careful planning and execution to ensure stability and functionality. Here’s a step-by-step guide on how to build a retaining wall:
Materials & Tools
- Retaining wall blocks or bricks
- Gravel
- Landscape fabric
- Drainage pipe
- Concrete adhesive
- Construction ahesive
- Level
- Rubber mallet
- Shovel
- Wheelbarrow
- Tamper
- String and stakes
- Tape measure
- Masonry saw (if cutting blocks is necessary)
- Backfill material (such as crushed stone or gravel)
- Georgrid (if wall height requires reinforcement)

Preparation
1. Determine Wall Location
Identify the location where the retaining wall is needed and mark the boundaries.
2. Check Local Regulations
Check with local authorities to ensure compliance with regulations and obtain necessary permits.
3. Calculate Wall Height
Determine the required height of the retaining wall and the type of materials needed based on the project.
Exvavation & Grading
1. Excavate the Area
Dig a trench for the base of the wall. The width of the trench should be about twice the width of the blocks.
2. Level the Trench
Use a level to ensure that the trench is level and the wall will have a consistent height.
3. Add Gravel Base
Add a layer of gravel to the trench and compact it using a tamper to create a stable base.
Install LaNdscape Fabric & Drainage
1. Landscape Fabric
Lay landscape fabric along the excavated area to prevent soil erosion.
2. Install Drainage Pipe
Place a drainage pipe behind the first course of blocks to direct water away from the wall.
Lay the First Course
1. Apply Adhesive
Apply concrete adhesive to the first row of blocks to secure them in place.
2. Lay the Blocks
Place the first course of retaining wall blocks on the prepared base. Ensure they are level and properly aligned.
3. Use a Level
Use a level to check the horizontal and vertical alignment of the blocks.
4. Backfill Behind Blocks
Backfill the area behind the first course with gravel for drainage.
Build Additional Courses
1. Stagger Joints
Stagger the joints of the blocks in each course to improve stability.
2. Adhesive and Alignment
Apply adhesive to the top of each block before placing the next course. Check alignment with a level.
3. Continue Building
Repeat the process of adding courses, applying adhesive, and backfilling until the desired height is reached.
Finish the wall
1. Cut Blocks if Necessary
Use a masonry saw to cut blocks if adjustments are needed at the ends or corners.
2. Finish the Top
Finish the top of the wall with cap blocks or a finishing course for a polished appearance.
3. Install Geogrid
If the retaining wall is tall and requires reinforcement, install geogrid at specified intervals according to manufacturer guidelines.
4. Clean the Area
Clean any excess adhesive or debris from the blocks.
5. Landscaping
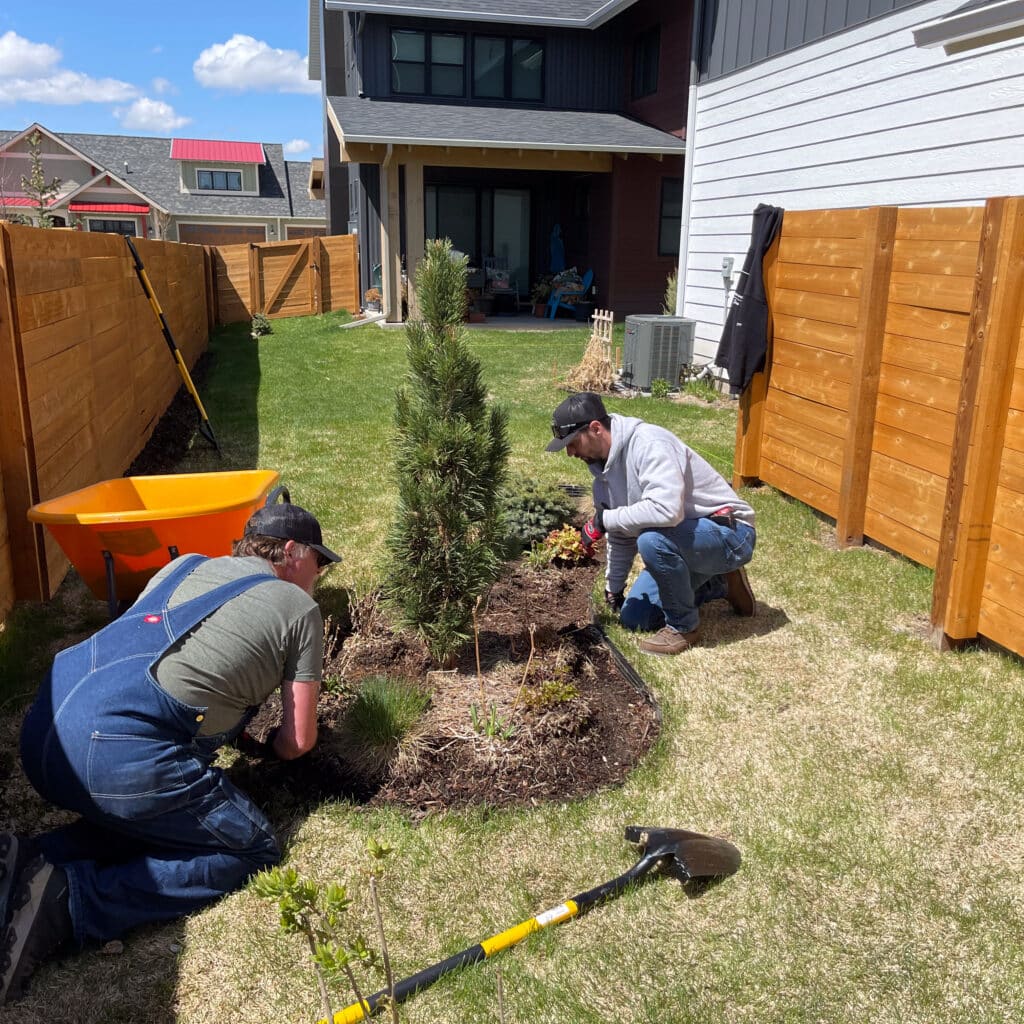
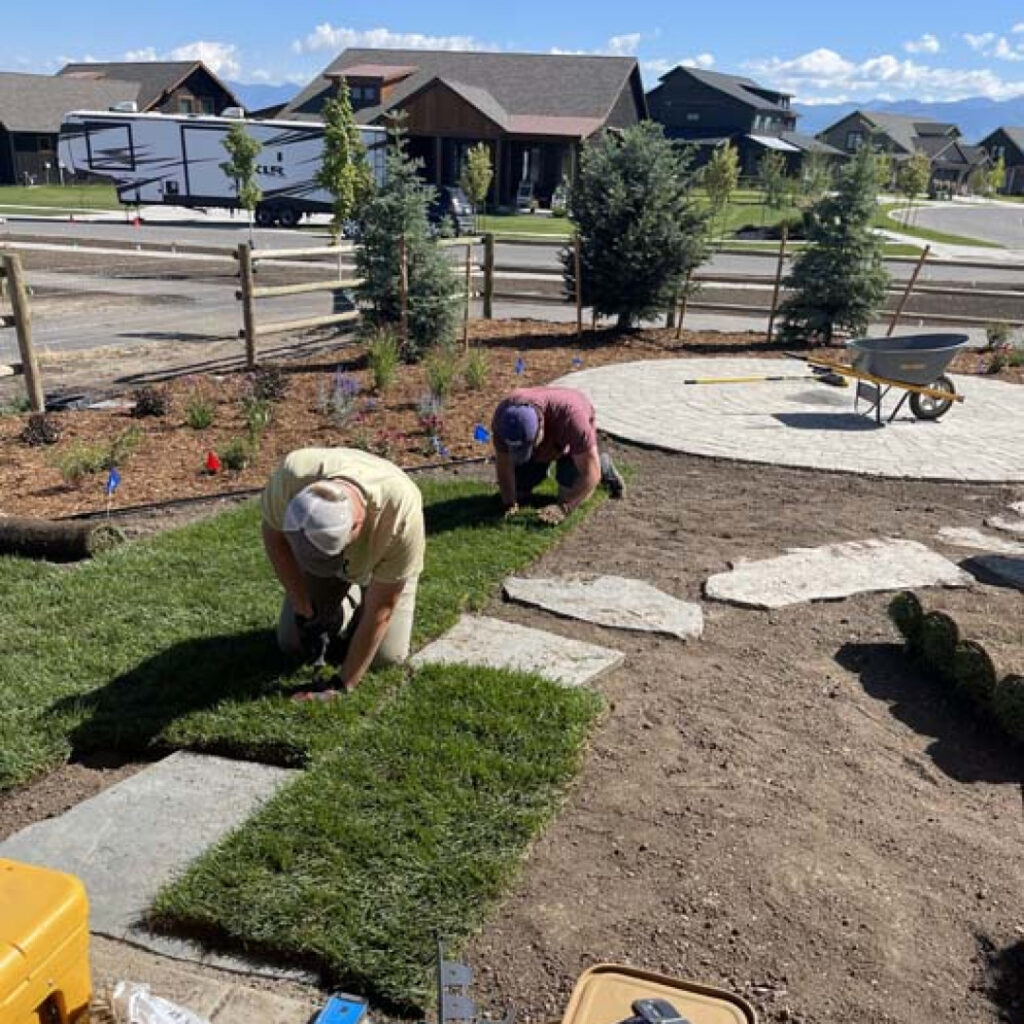
Landscape around the retaining wall with plants or other decorative elements.
Finish the wall
- Follow manufacturer guidelines for the specific retaining wall blocks you are using.
- Consider drainage carefully to prevent water buildup behind the wall.
- Ensure proper compaction of backfill material to avoid settling.
- If the wall is over a certain height, consult with a structural engineer for additional design considerations.
It’s recommended to consult with a professional or hire an experienced contractor for larger retaining wall projects or if you have specific structural concerns. Learn more about Top Dog’s hardscaping services and get started on your project.


