
Professional Landscaping Services
Offering exceptional Landscaping solutions, our team is committed to providing top-quality services to meet all your needs in the Landscaping industry.
Landscaping Overview
At Top Dog Landscaping, our mission is to transform your yard into a stunning outdoor retreat that reflects your personal style and enhances your property's curb appeal. With over a year of dedicated service in the Bozeman and Belgrade areas, our family-owned company brings trust, expertise, and a deep commitment to sustainable practices.
Our landscaping services cover a wide range of design and maintenance tasks tailored to your unique needs. From vibrant plant installations and lush garden setups to pristine lawn care, we provide quality services that make your outdoor space the envy of the neighborhood. We employ the latest in smart irrigation technology through Irrigreen, which can save you 45-50% on average water usage and comes with a two-year warranty. By using battery-powered, fully electric tools that are 25 decibels quieter than gas equivalents, we guarantee a quieter, fume-free experience that’s better for the environment.
Whether you're looking to design a new landscape from scratch, improve your existing yard, or handle routine maintenance, we offer flexible outdoor management contracts. Collaborating with our partner companies, we can bundle multiple services like fertilization, mowing, snow removal, and pest control, ensuring a comprehensive care plan that suits your lifestyle.
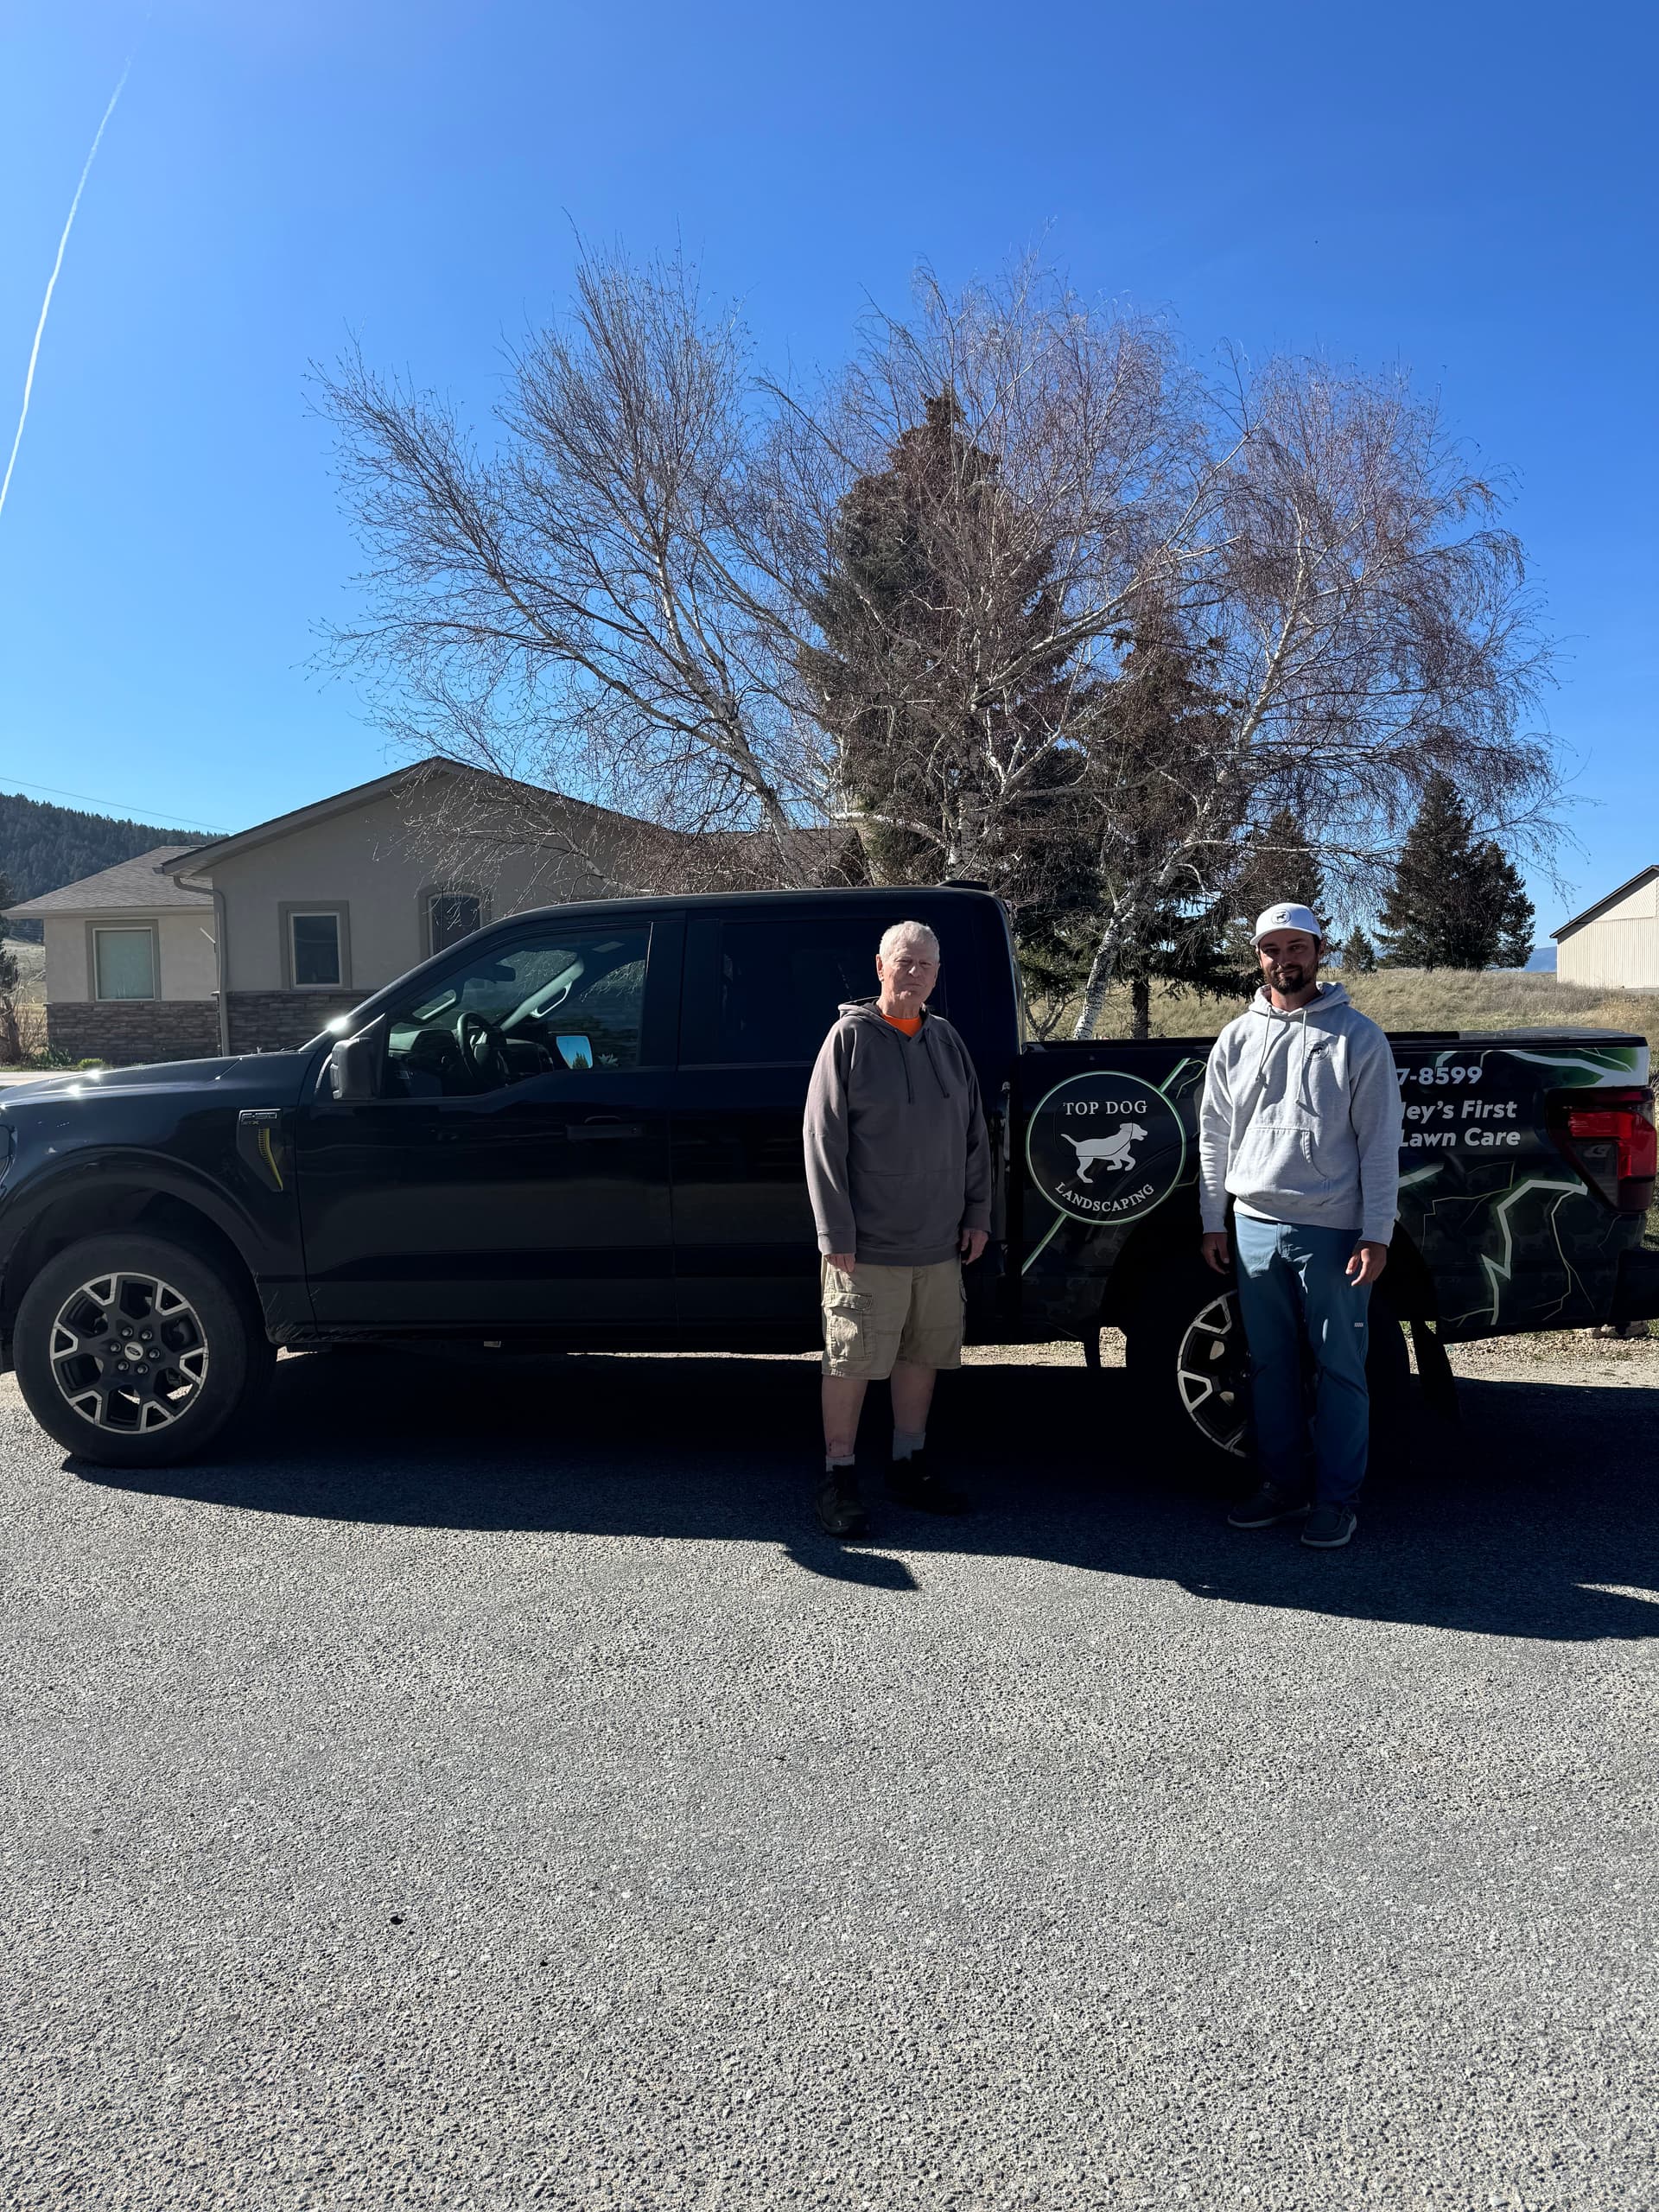
Our team of 14 skilled employees share a passion for creating beautiful, sustainable spaces. We're proud to be recognized as a "Nextdoor Neighborhood Fav 2025," a testament to our commitment to excellence. Additionally, with our independent contractor exemption and licenses in general construction and landscaping (license number 270920) backed by robust insurance, quality and security are at the heart of our operations.
And as part of our guarantee, if you're not completely satisfied, we promise to come back and fix it for free. Starting your landscaping project with us is easy. Projects scheduled over 30 days away only require a 5% deposit, with half of the remaining balance due a week before we start and the rest upon completion.
Reach out to us at (406) 437-8599 to explore how Top Dog Landscaping can bring your vision to life while respecting both your timeline and budget.
Related Projects


Transform Your Outdoor Space with Our Expert Landscaping Service
At Top Dog Landscaping, we turn your vision into reality with a seamless and eco-friendly process.
Personalized Initial Consultation
We start by sitting down to discuss your dream landscape. We'll take the time to understand your needs and preferences before providing a detailed, no-nonsense estimate that's tailored to your vision.
Customized Planning and Scheduling
Our team schedules a time that suits you, crafting a bespoke plan with timelines and resources. We ensure every aspect is planned meticulously to fit your wishes and our environmental standards.
Expert Execution with Smart Solutions
Our skilled team transforms your yard using top-of-the-line, quiet electric tools. We integrate smart irrigation to conserve water and ensure sustainable beauty. We aim for efficiency without sacrificing quality.
Comprehensive Inspection and Satisfaction Guarantee
We're not finished until you love what you see. After thorough checks, we'll walk you through the entire job to confirm your satisfaction. If anything isn’t right, our guarantee covers all fixes.
Your Questions Answered
We're here to address any questions or concerns you may have about our landscaping services. Here are the answers to some common inquiries.
Reviews
Neighbors trust Top Dog Landscaping
Genuine stories of beautiful transformations
“Communication was excellent - fast, quality work. Highly recommend Top Dog!”
“By far the best in the business in Bozeman when it comes to snow removal is Top Dog Snow Removal. Companies that I've used in the past barely did the width of my driveway and that's about all that they would do for a whole lot of money. Well, Charlie and his team at Top Dog Snow Removal are the consummate professionals. You know they're proud of their work when you see the entire driveway has been plowed. Not only that, they also shovel my walkways and my porch. Nowadays, it's hard to find local based companies that mean what they stand for. And for Charlie and his team at Top Dog that's why they're the best in the business. I highly recommend them for your home and so do a big majority of the neighbors in our community. Thank you Charlie for all that you do for all of us. Ann Ledon Bozeman”
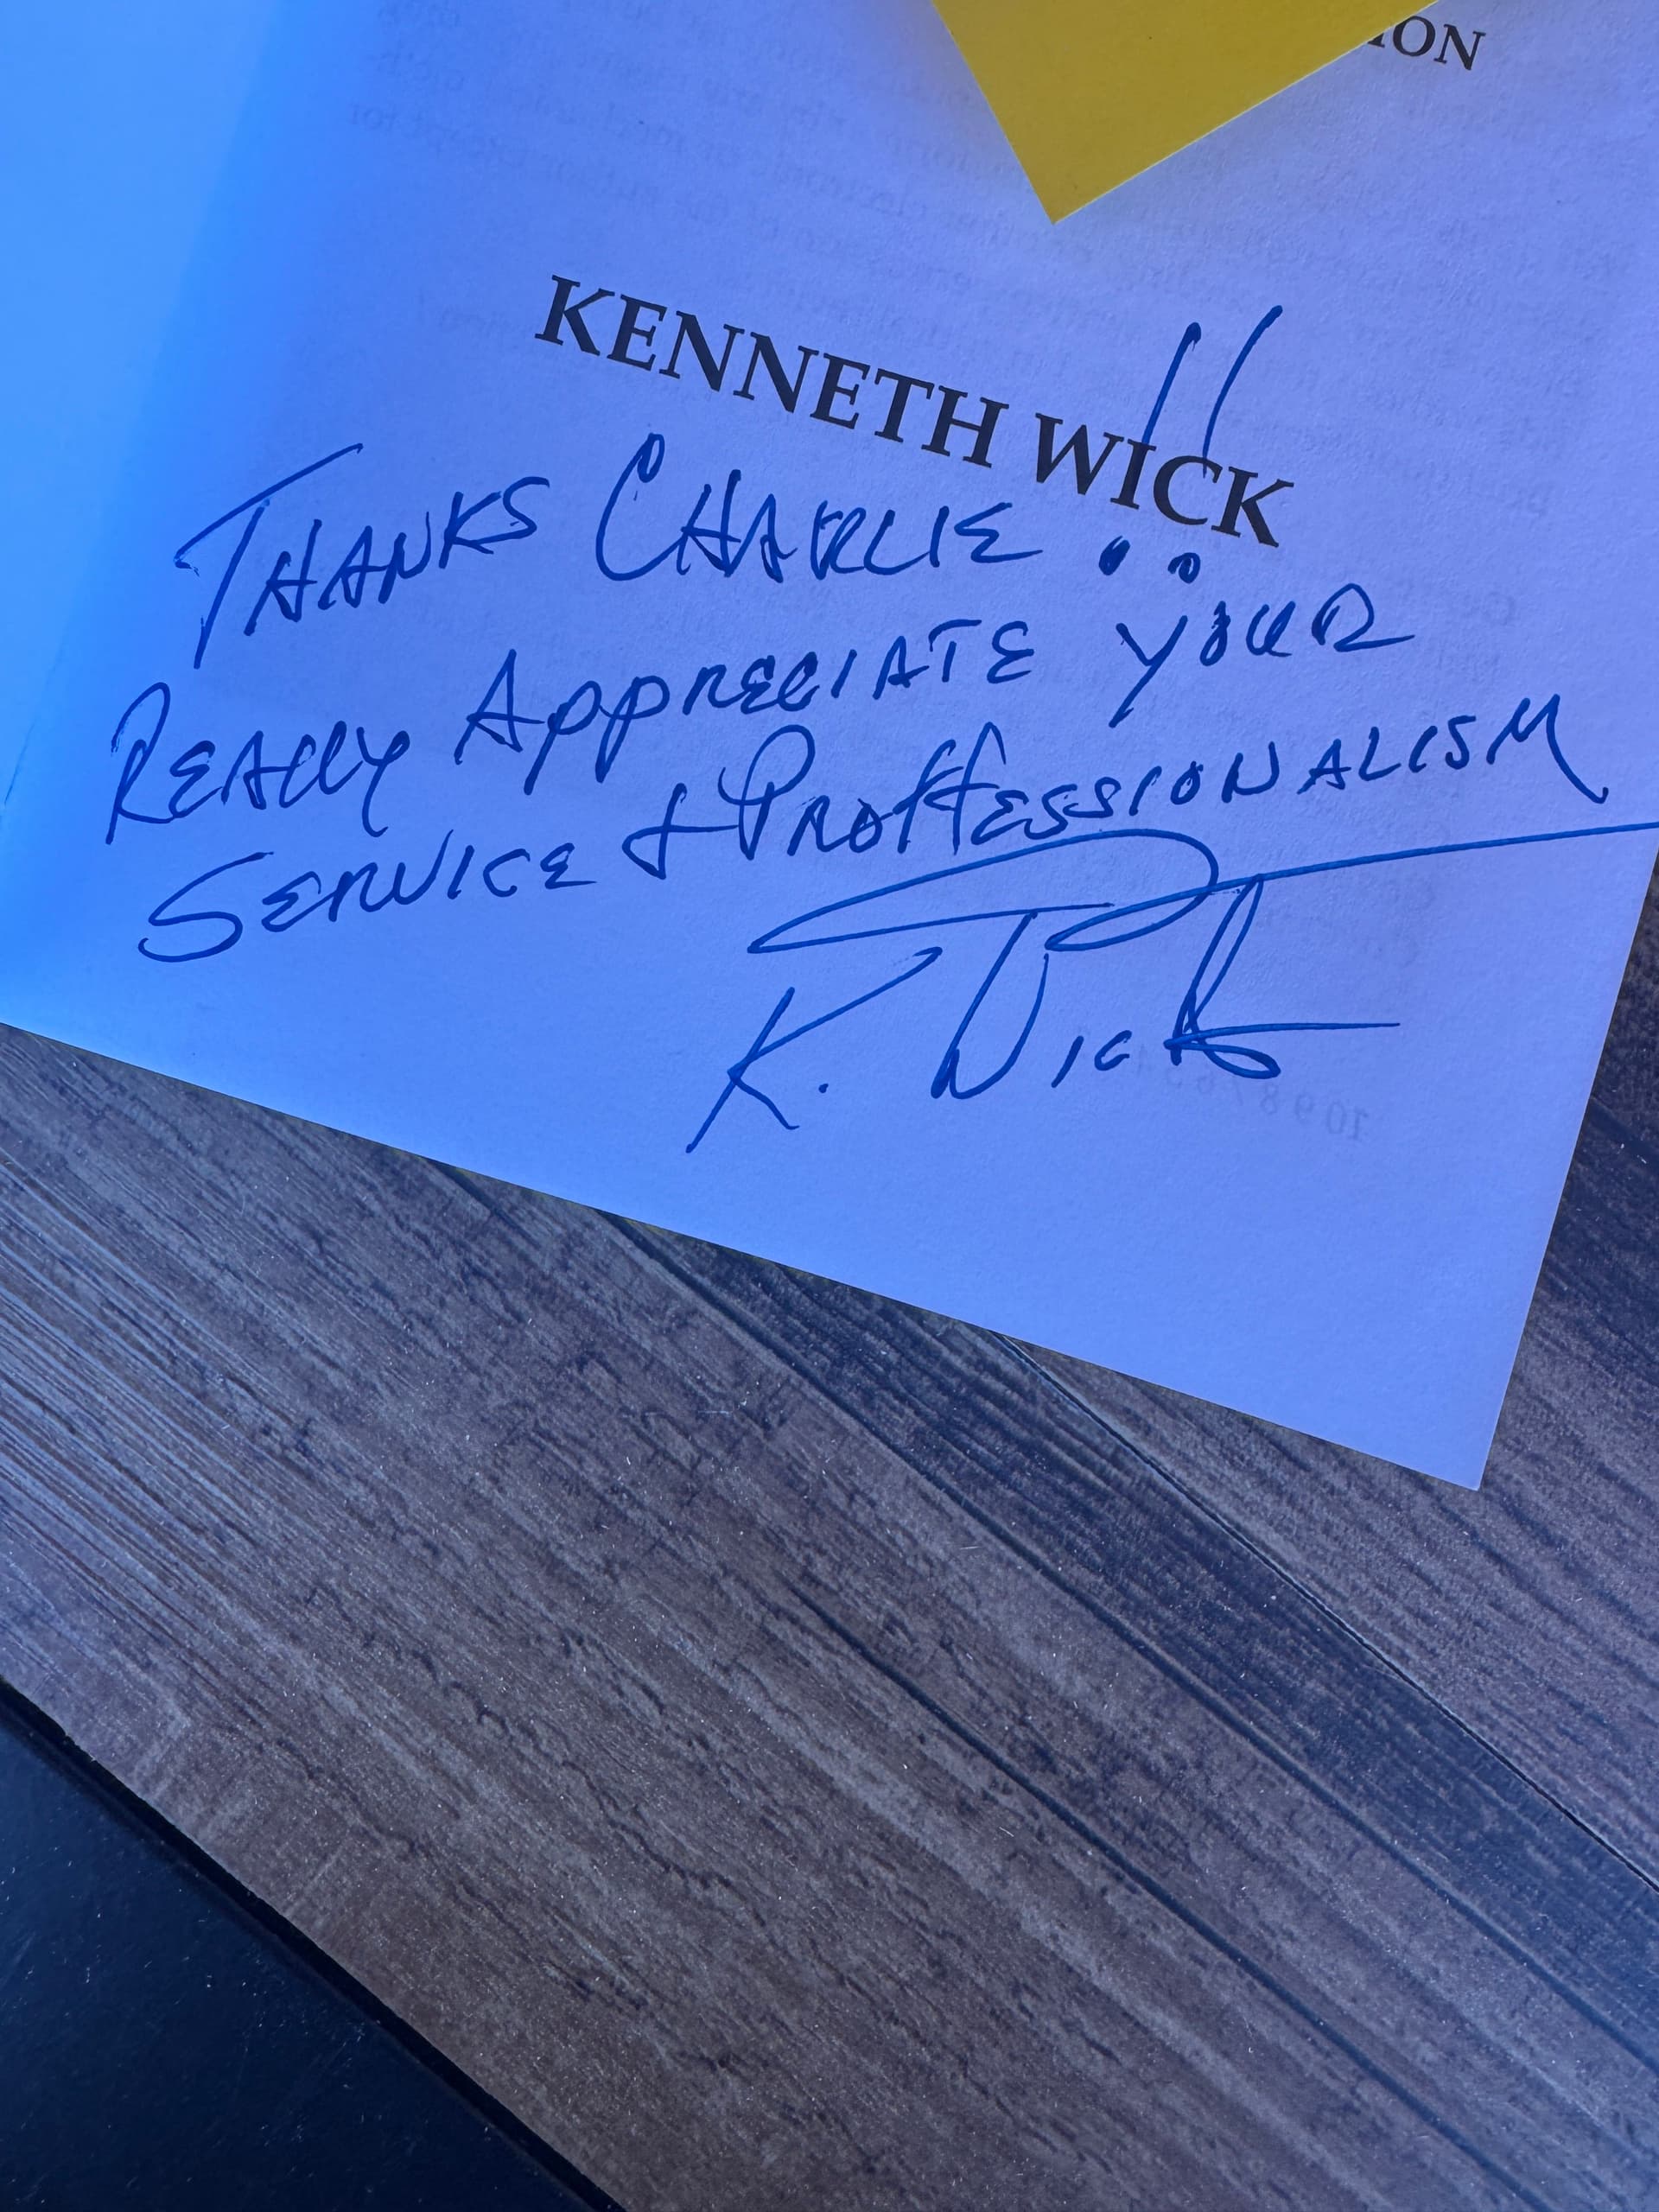
“Charlie and his team installed our Irrigreen sprinkler system with outstanding professionalism, dedication to great service and a beautiful addition to our yard at job's end. Truly impressive service, I have the greatest trust in Charlie and his team at Top Dog Landscaping to continue to provide future quality installs and support. Kenneth Wick Fairmont Hot Springs Homeowner.”
Transform Your Outdoor Space Now!
Contact Top Dog Landscaping and create your dream yard today. Call us at (406) 437-8599 to get started!