Provide support structures, plant at the base, and guide the plant as it grows to encourage climbing in the desired direction.
Installing climbing plants can add vertical interest and create beautiful greenery on walls, trellises, and other structures. Here are the best practices for installing climbing plants:
Considerations
1. Choose Suitable Climbing Plants
Consider Climbing Habit: Choose climbing plants that exhibit the climbing habit, such as vines with tendrils, clinging roots, or twining stems.
Evaluate Sunlight Requirements: Select plants based on the sunlight conditions in the chosen location. Some climbing plants prefer full sun, while others thrive in partial shade.
Consider Mature Size: Consider the mature size of the climbing plants to ensure they fit the available space and won’t outgrow the supporting structure.
2. Select a Sturdy Supporting Structure
Choose a Strong Support: Ensure that the supporting structure, whether a trellis, pergola, or wall, is strong and sturdy enough to bear the weight of the climbing plants as they grow.
Provide Anchoring Points: Install a system of wires, trellises, or other anchoring points to guide the climbing plants upward and prevent damage to the supporting structure.

3. Prepare the Soil
Amend the Soil: Prepare the soil at the planting site by amending it with organic matter to enhance fertility and drainage.
4. Planting Holes
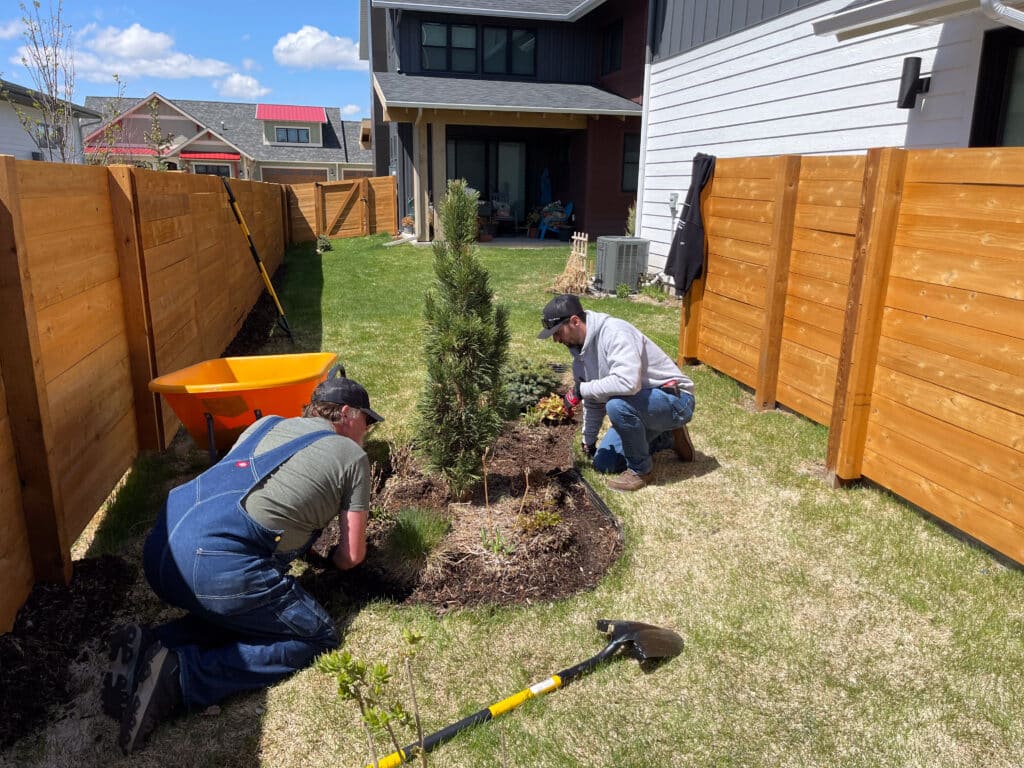
Dig Planting Holes: Dig planting holes for each climbing plant, ensuring they are deep and wide enough to accommodate the root ball.
Space According to Mature Size: Space the climbing plants according to their mature size, allowing sufficient room for each plant to spread and climb.
5. Plant the Climbing Plants
Remove the Containers: Gently remove the climbing plants from their containers, tapping the bottom and sides to loosen the root ball.
Plant at the Right Depth: Plant each climbing plant at the same depth it was in the container. The top of the root ball should be level with the soil surface.
Backfill with Soil: Backfill the planting holes with soil, gently firming it around the roots. Water the plants as you backfill to eliminate air pockets.
6. Watering
Water Thoroughly: Water the climbing plants thoroughly after planting. Continue to water consistently, especially during the establishment period.
Establish a Watering Schedule: Establish a regular watering schedule based on the specific needs of the climbing plants and the prevailing weather conditions.
7. Mulching
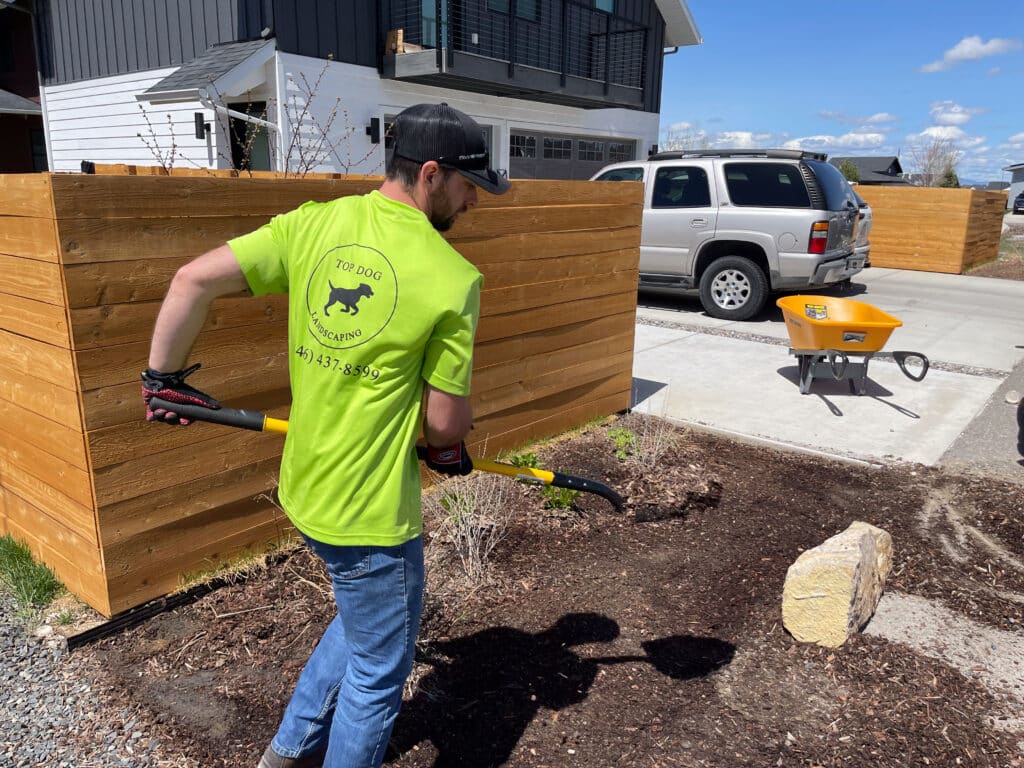
Apply Mulch: Apply a layer of mulch around the base of the climbing plants to retain moisture, suppress weeds, and regulate soil temperature.
Leave Space Around Stems: Avoid piling mulch against the stems of the climbing plants to prevent moisture-related issues.
8. Training and Pruning
Guide Climbing Growth: Guide the climbing growth of the plants by tying them to the supporting structure. Use soft ties to avoid damaging stems.
Pruning for Shape: Prune the climbing plants as needed to maintain the desired shape, control size, and encourage lateral branching.
9. Fertilize as Needed
Use Suitable Fertilizer: Fertilize the climbing plants based on their specific needs. Use a balanced fertilizer or one formulated for climbing plants.
Follow Recommended Application Rates: Follow recommended application rates and timing for fertilization.
10. Monitor Growth
Adjust Tiles and Supports: Regularly monitor the growth of the climbing plants and adjust ties and supports as needed.
11. Consideration for Property Lines
Check Local Regulations: Check local regulations regarding property lines and planting near boundaries to avoid potential issues.
Final Thoughts
By following these best practices, you can successfully install climbing plants and create a stunning vertical garden. Regular care, including watering, training, and pruning, will contribute to the health and beauty of your climbing plants.


